 Hi readers! It's Ana again! Have you ever had problems when assessing your students? Do you want to create a rubric to make the process of assessing easier and you dont know how to do it? Keep on reading!This week we have been working in our ICT class with a new tool to create rubrics and I am going to tell you everything about it!
This mission consisted of creating a rubric that evaluates our eproject and in which we define the key aspects in our e-project, the expected progress and our own assessment criteria.
I had never created anything similar before. Of course I had evaluated things done by my students but never by using a rubric, let alone, by using my own rubric. For that reason I liked this challenge, it made me reflect on the importance of assessing in a fair way, giving our students clear feedback that they can take into account in order to improve.
In this sense, rubrics are a valuable tool, since you can let your students know the criteria that you used to evaluate their work. Furthermore, you can give them the rubric in advance so they know exactly what is expected from them!

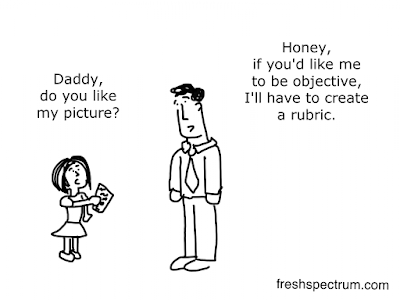
Image from: http://freshspectrum.com/
Despite you can create one table with Word for example, it is important to know other options that are available on the Internet.
After having a look at different e-tools, I finally decided to use Quick Rubric, an online tool in which you can create your own rubrics.
Even though this tool is very easy and intuitive, I would like to tell you how to use it so you will not have any problem when working with it:
First of all you need to log in, otherwise you cannot save your final result. So you have to click “I’m new user”, then you fill in the gaps with your personal data, and once you have your account you can start creating your rubric.
You have to decide the maximum and minimum score, that means that if for example you have 3 different items to analyse and you want to have a scale of rating of 3 progressive ratings (beginning 1 point, emerging 2 points, and proficient 3 points) then your maximum score would be 9 (3x3) and your minimum 3 (1x3).
However, if you are not happy with the number of scales of ratings you can add a new one (add column) and you can also increase the number of elements to analyse by clicking the option "add a row".
This application offers you the possibility of saving your rubric in case you want to carry on working on it later (remember that you need to have an account for that).
You can add a title if you want to and also a description for your rubric at the top of the page.
In order to share your rubric with the world you need to save it, go To “My rubrics” then click on “view/print” and then at the bottom of the page you will find the URL of your rubric. In case you want to modify something, you have the option “edit” at the bottom too.
Here you can see mine
I consider that this tool is really good, I found it really easy and intuitive. Nevertheless, there are some things that, from my humble opinion could be improved: It would be nice to have an option to share your final result with the social networks, at least with the most famous ones such as twitter, blogger, facebook.... Moreover, you should be able to copy it for example to a word document, but it seems that it is not possible. The only alternative to this is to print it directly. I was not able to see an option to create an embedded code either. And finally I would personally include an option to save your work as a draft automatically, which is not currently available in this application
However, our mate Laura came up with a solution for all these problems and found the way of creating an embedded code to put in our blogs! When creating the rubric in Quick Rubric you have to click on print, and then save it as a pdf documment. Here you have two options: If you want to convert it into word you can convert it by using many online free programmes, for example this one called Nitro. And, if you want to create an embedded code for your blog you can do it too, you have to copy the rubric in google drive, and once you are there you have to make your documment public and then it gives you the possibility to get an embedded code and a shareable link. This is the final result:
Despite all its drawbacks I consider that it was a really nice tool since it allowed me to accomplish the task of creating a rubric and as I said before it was really easy.
In fact I used it to evaluate one CLIL e-project and it works very well. The CLIL e-project that I used was the one done by my peer Víctor : Education is the beginning After having a look at his blog in depth I can conclude that taking my rubric into account he has a score of 26/27. I scored his blog with 3 points of scale of ratings in all the criterias except in the one in which the criteria says "License usage". Even though I know that all the images that Víctor uses are from pages such as Pixabay or they are creative common images in some of the entries he forgot to attribute them. But overall I can say that it is a perfect blog, and I highly recommend that you have a look at it because you will learn a lot! :)
What do you think? Do you like my rubric? Did you find it useful? Had you ever created a rubric before? Please let me know your opinion and experience by posting a comment!
Have a nice Monday!
All the best!
*The image used is from Pixabay


No comments:
Post a Comment